Introduction
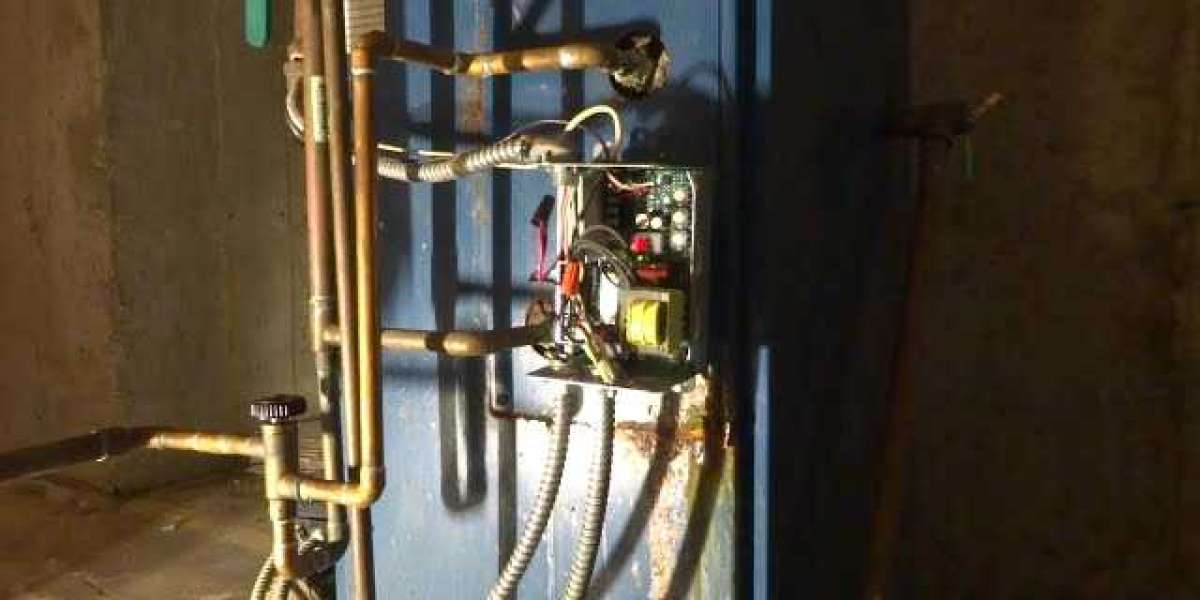
Boilers are the unsung heroes of many homes, quietly providing warmth and hot water on demand. But within these mechanical marvels lies a component crucial to their function: the tankless coil.
This vital part is responsible for heating the water that circulates through your home's heating system and delivers hot water for domestic use. Over time, tankless coils can wear out or become inefficient, necessitating replacement.
In this comprehensive guide, we'll delve into the intricacies of replacing a tankless coil in your boiler, offering expert advice every step of the way.
Understanding Tankless Coils
Before diving into the replacement process, it's essential to understand the role of the tankless coil within your boiler system. Unlike traditional water heaters, which store hot water in a tank, tankless coils heat water on-demand as it passes through the coil immersed in the boiler's hot water.
This design eliminates the need for a separate water storage tank, making it a space-saving option for many households. However, like all components, tankless coils have a finite lifespan and may require replacement due to wear and tear or declining performance.
Signs It's Time for Replacement
Recognizing when your tankless coil is nearing the end of its lifespan is crucial for ensuring uninterrupted hot water and heating in your home. Some common signs that indicate it's time to replace the tankless coil include:
Decreased Hot Water Temperature: If you notice a gradual decline in the hot water temperature or inconsistent heating, it could indicate a failing tankless coil.
Rust or Corrosion: Inspect the tankless coil for signs of rust or corrosion, as this can compromise its performance and lead to leaks.
Increased Energy Bills: A deteriorating tankless coil may require more energy to heat water, resulting in higher utility bills.
Frequent Repairs: If you find yourself constantly repairing other components of your boiler system, it might be due to an underlying issue with the tankless coil.
Preparation and Safety Measures
Before embarking on the replacement process, it's essential to take proper safety precautions and gather the necessary tools and materials. Here's a brief overview of what you'll need:
Safety Gear: Wear protective clothing, gloves, and safety goggles to prevent injury.
Tools: Depending on your boiler model, you may need wrenches, screwdrivers, pipe cutters, and a pipe wrench.
Replacement Tankless Coil: Purchase a compatible tankless coil that matches the specifications of your boiler.
Sealants and Insulation: Stock up on pipe sealant, insulation, and other materials required for installation.
Step-by-Step Replacement Process
Replacing a tankless coil in your boiler requires precision and attention to detail. Here's a step-by-step guide to help you navigate the process effectively:
Turn Off Power and Water Supply: Before starting any work, shut off the power to the boiler and close the water supply valve to prevent accidents.
Drain the Boiler: Attach a garden hose to the boiler's drain valve and empty the water from the system to prevent spills and leaks during the replacement.
Remove Old Tankless Coil: Disconnect the piping and fittings connected to the old tankless coil using appropriate tools. Carefully remove the coil from the boiler.
Prepare New Tankless Coil: Inspect the new tankless coil for any defects and ensure it matches the specifications of your boiler. Apply pipe sealant to the threads of the fittings.
Install New Tankless Coil: Insert the new tankless coil into the boiler and reconnect the piping and fittings. Tighten the connections securely to prevent leaks.
Test for Leaks: Once the installation is complete, refill the boiler with water and pressurize the system. Check for any leaks or drips and address them promptly.
Restore Power and Test: Turn the power back on and test the boiler to ensure the new tankless coil is functioning correctly. Monitor the hot water temperature and heating performance.
Conclusion
Replacing a tankless coil in your boiler may seem daunting, but with the right knowledge and preparation, it's a manageable task.
By understanding the signs that indicate a failing tankless coil and following the step-by-step replacement process outlined in this guide, you can ensure your boiler continues to provide reliable heating and hot water for years to come.
If you're unsure about tackling the replacement yourself, don't hesitate to seek assistance from a qualified technician to ensure the job is done safely and effectively.